Prototypes
When developing a new product you need to be front loading your learning as much as possible. So I started off trying to get to a minimum form factor and control set that lets me focus development down a direction that lets me learn the most.
Form Factor; or 3d printing
First task: figure out how to 3d model stuff.
Second task: print blanks to get the size close to right, so you have a set of physical constraints to aid in designing. Under-constrained projects are harder than over-constrained.
Third Task: Iterate on that until you get ‘good enough’ to have something you can make a working prototype. You need to test with actual product-in-hand as soon as possible, hallway interviews and questionnaires only take you so far because people lie. Both to you and to themselves.
First (few) pass(es)
First I tried to learn FreeCAD. This went badly.
So I kept learning FreeCAD, and it went less badly. Funny how learning takes time and failures. Even so I still overcomplicated my first stab at this.
Good Learnings
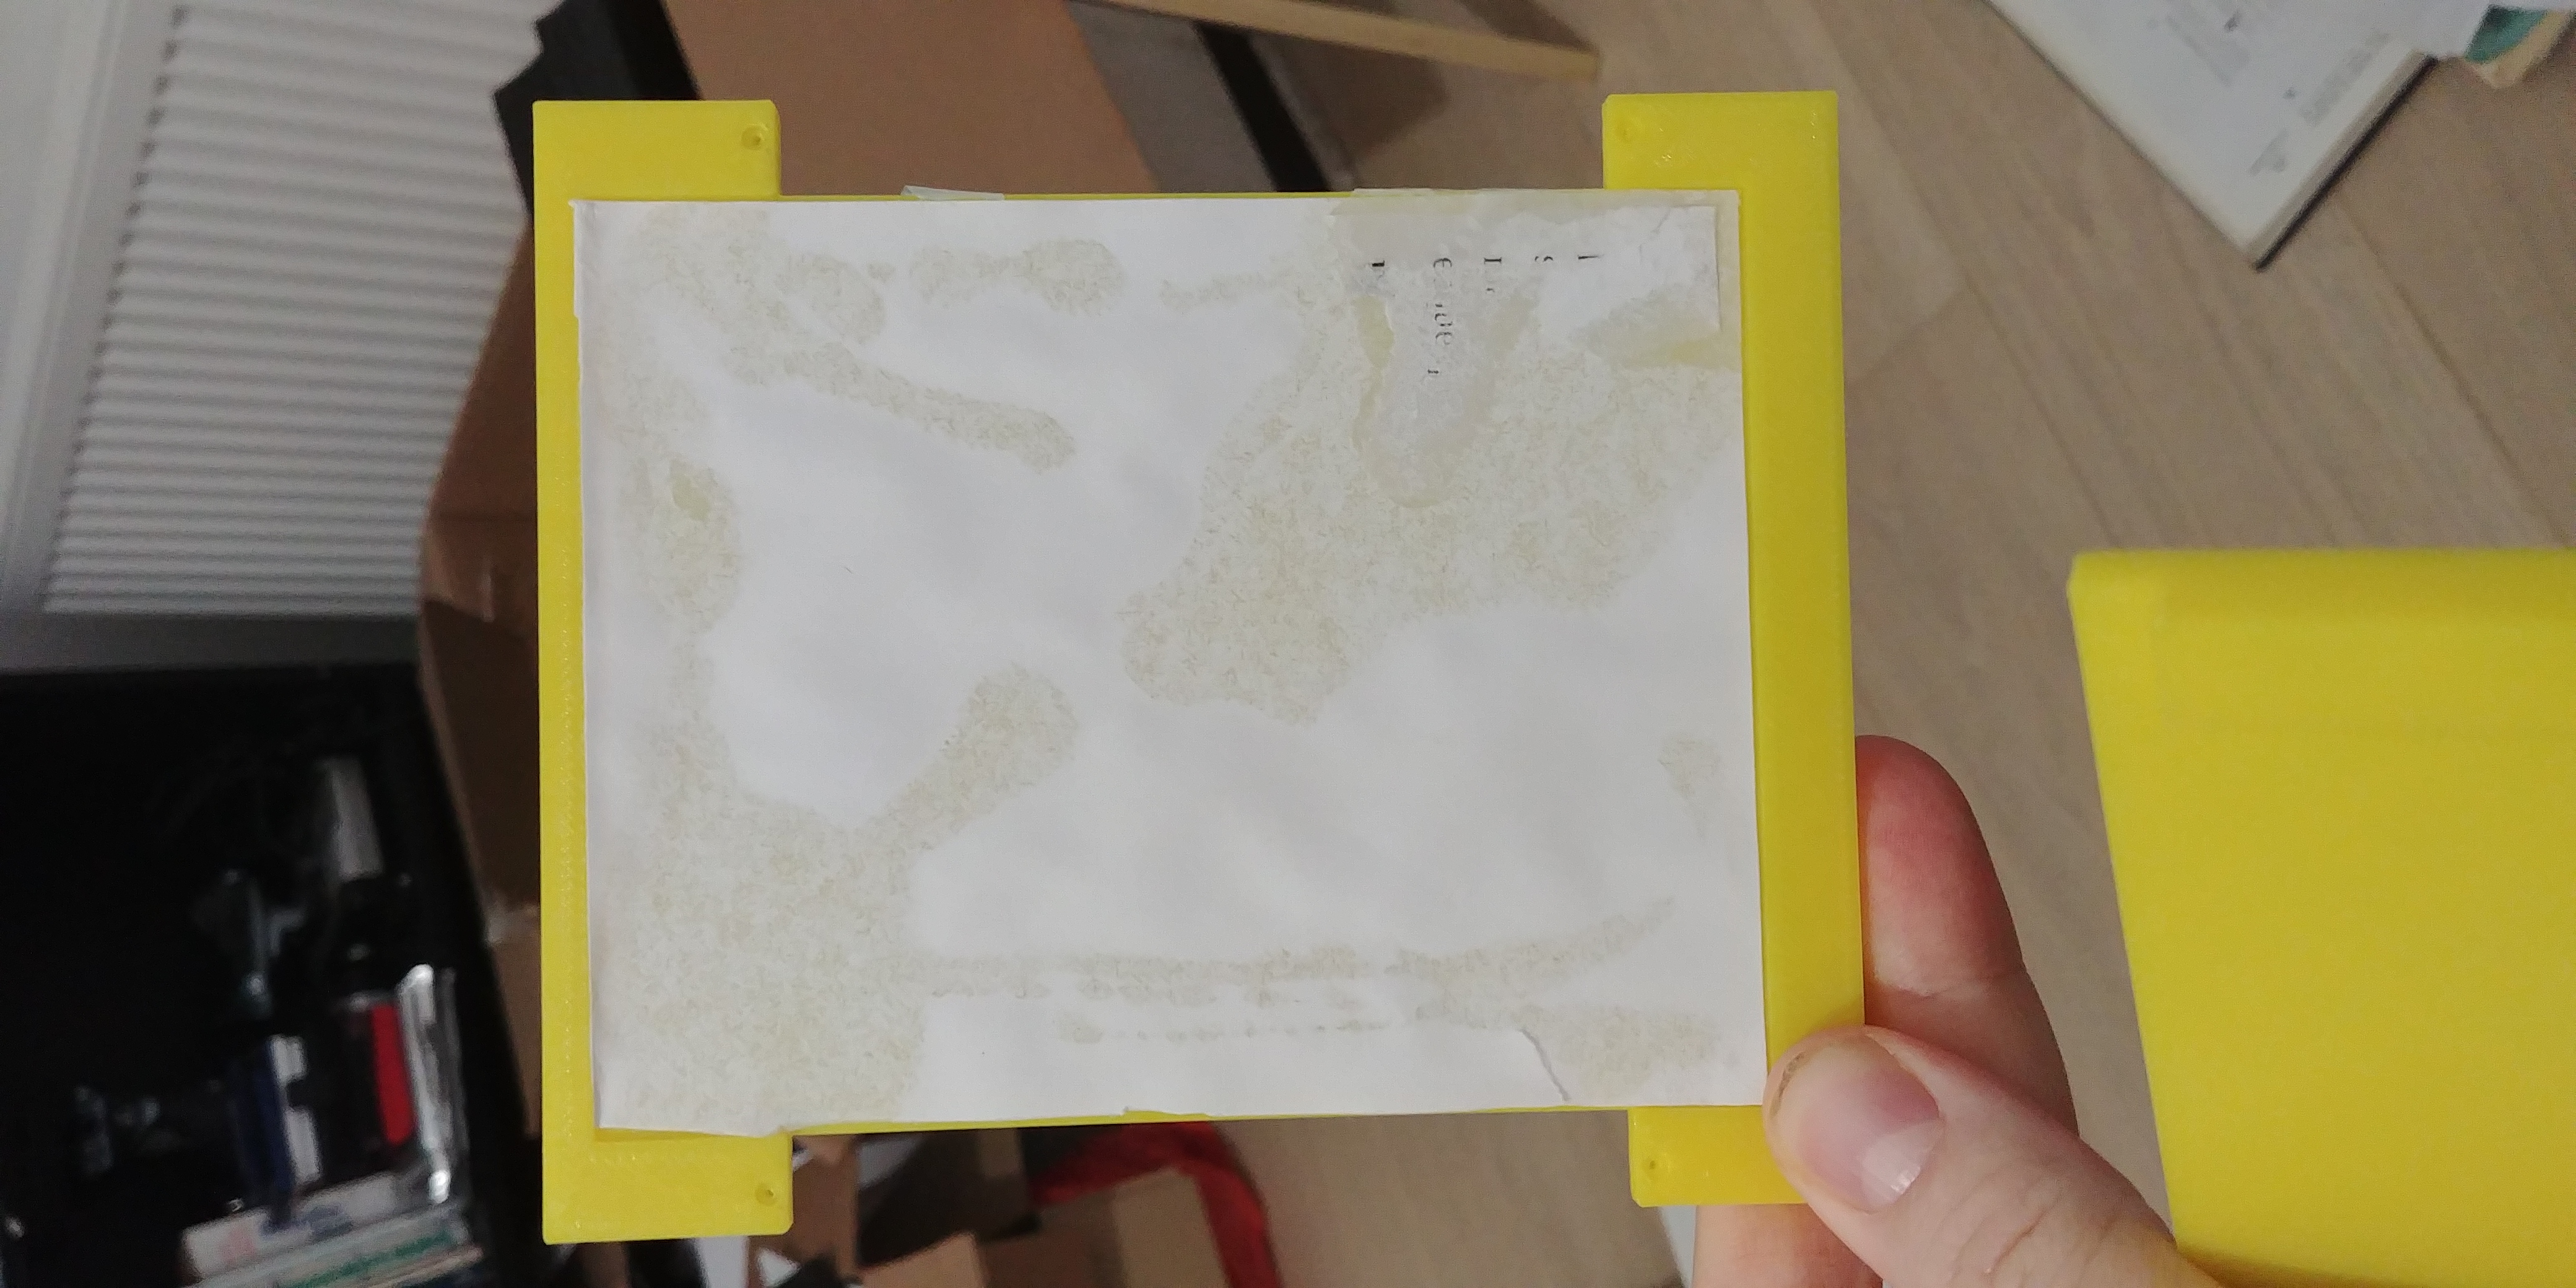
So I did do some things correct: there is no space for components and I glued a piece of paper where the screen would be. There was a Lorem Ipsum on it earlier but I decided it was upside-down and removed it. This taught me it was upside-down.
With my hand for scale. Since its going to be held in the hand, a hand is better for scale than a banana (heresy, I know). Now I have big hands, so I put it in other peoples hands as well.
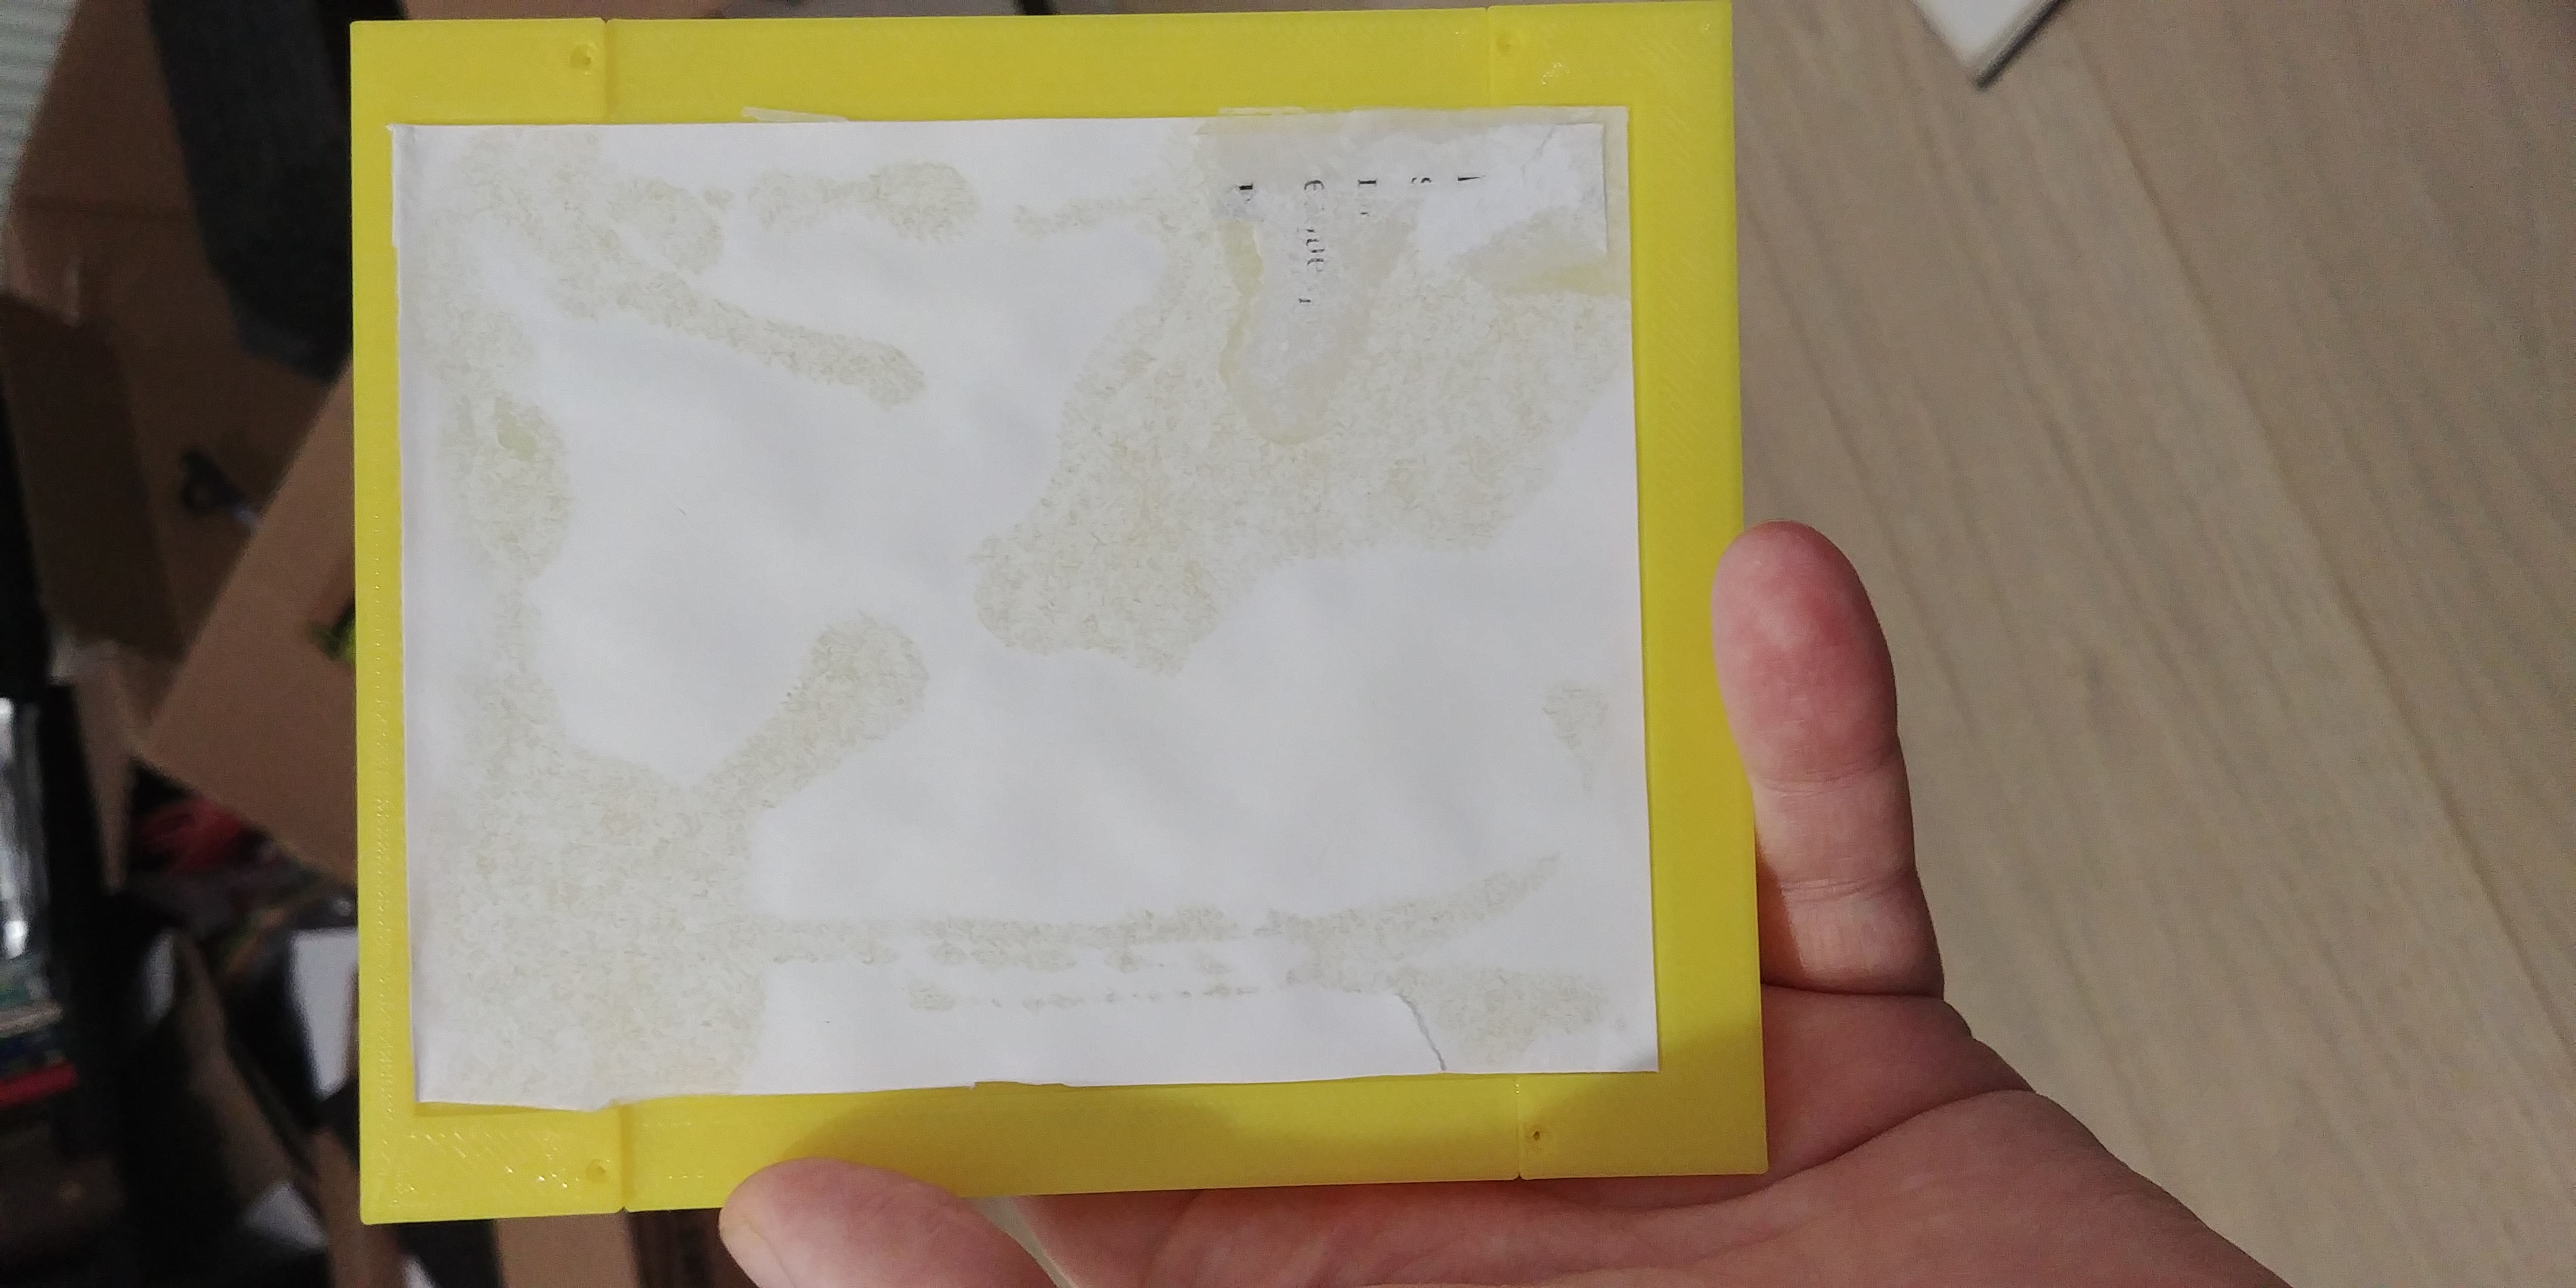
Its too small.
Stupid overcomplicated ideas
Now for the thing which was dumb. I tried to learn 2 things at the same time here before learning one. I wanted to make a caddy for the back to fit prototype electronics. This is before even knowing if this is the right size. Specifically I wanted to test button placements and see how much space I have for things.
Again: even before knowing if the form factor is usable in the hand. I know: how dumb! I even did this when I knew better than to do it.
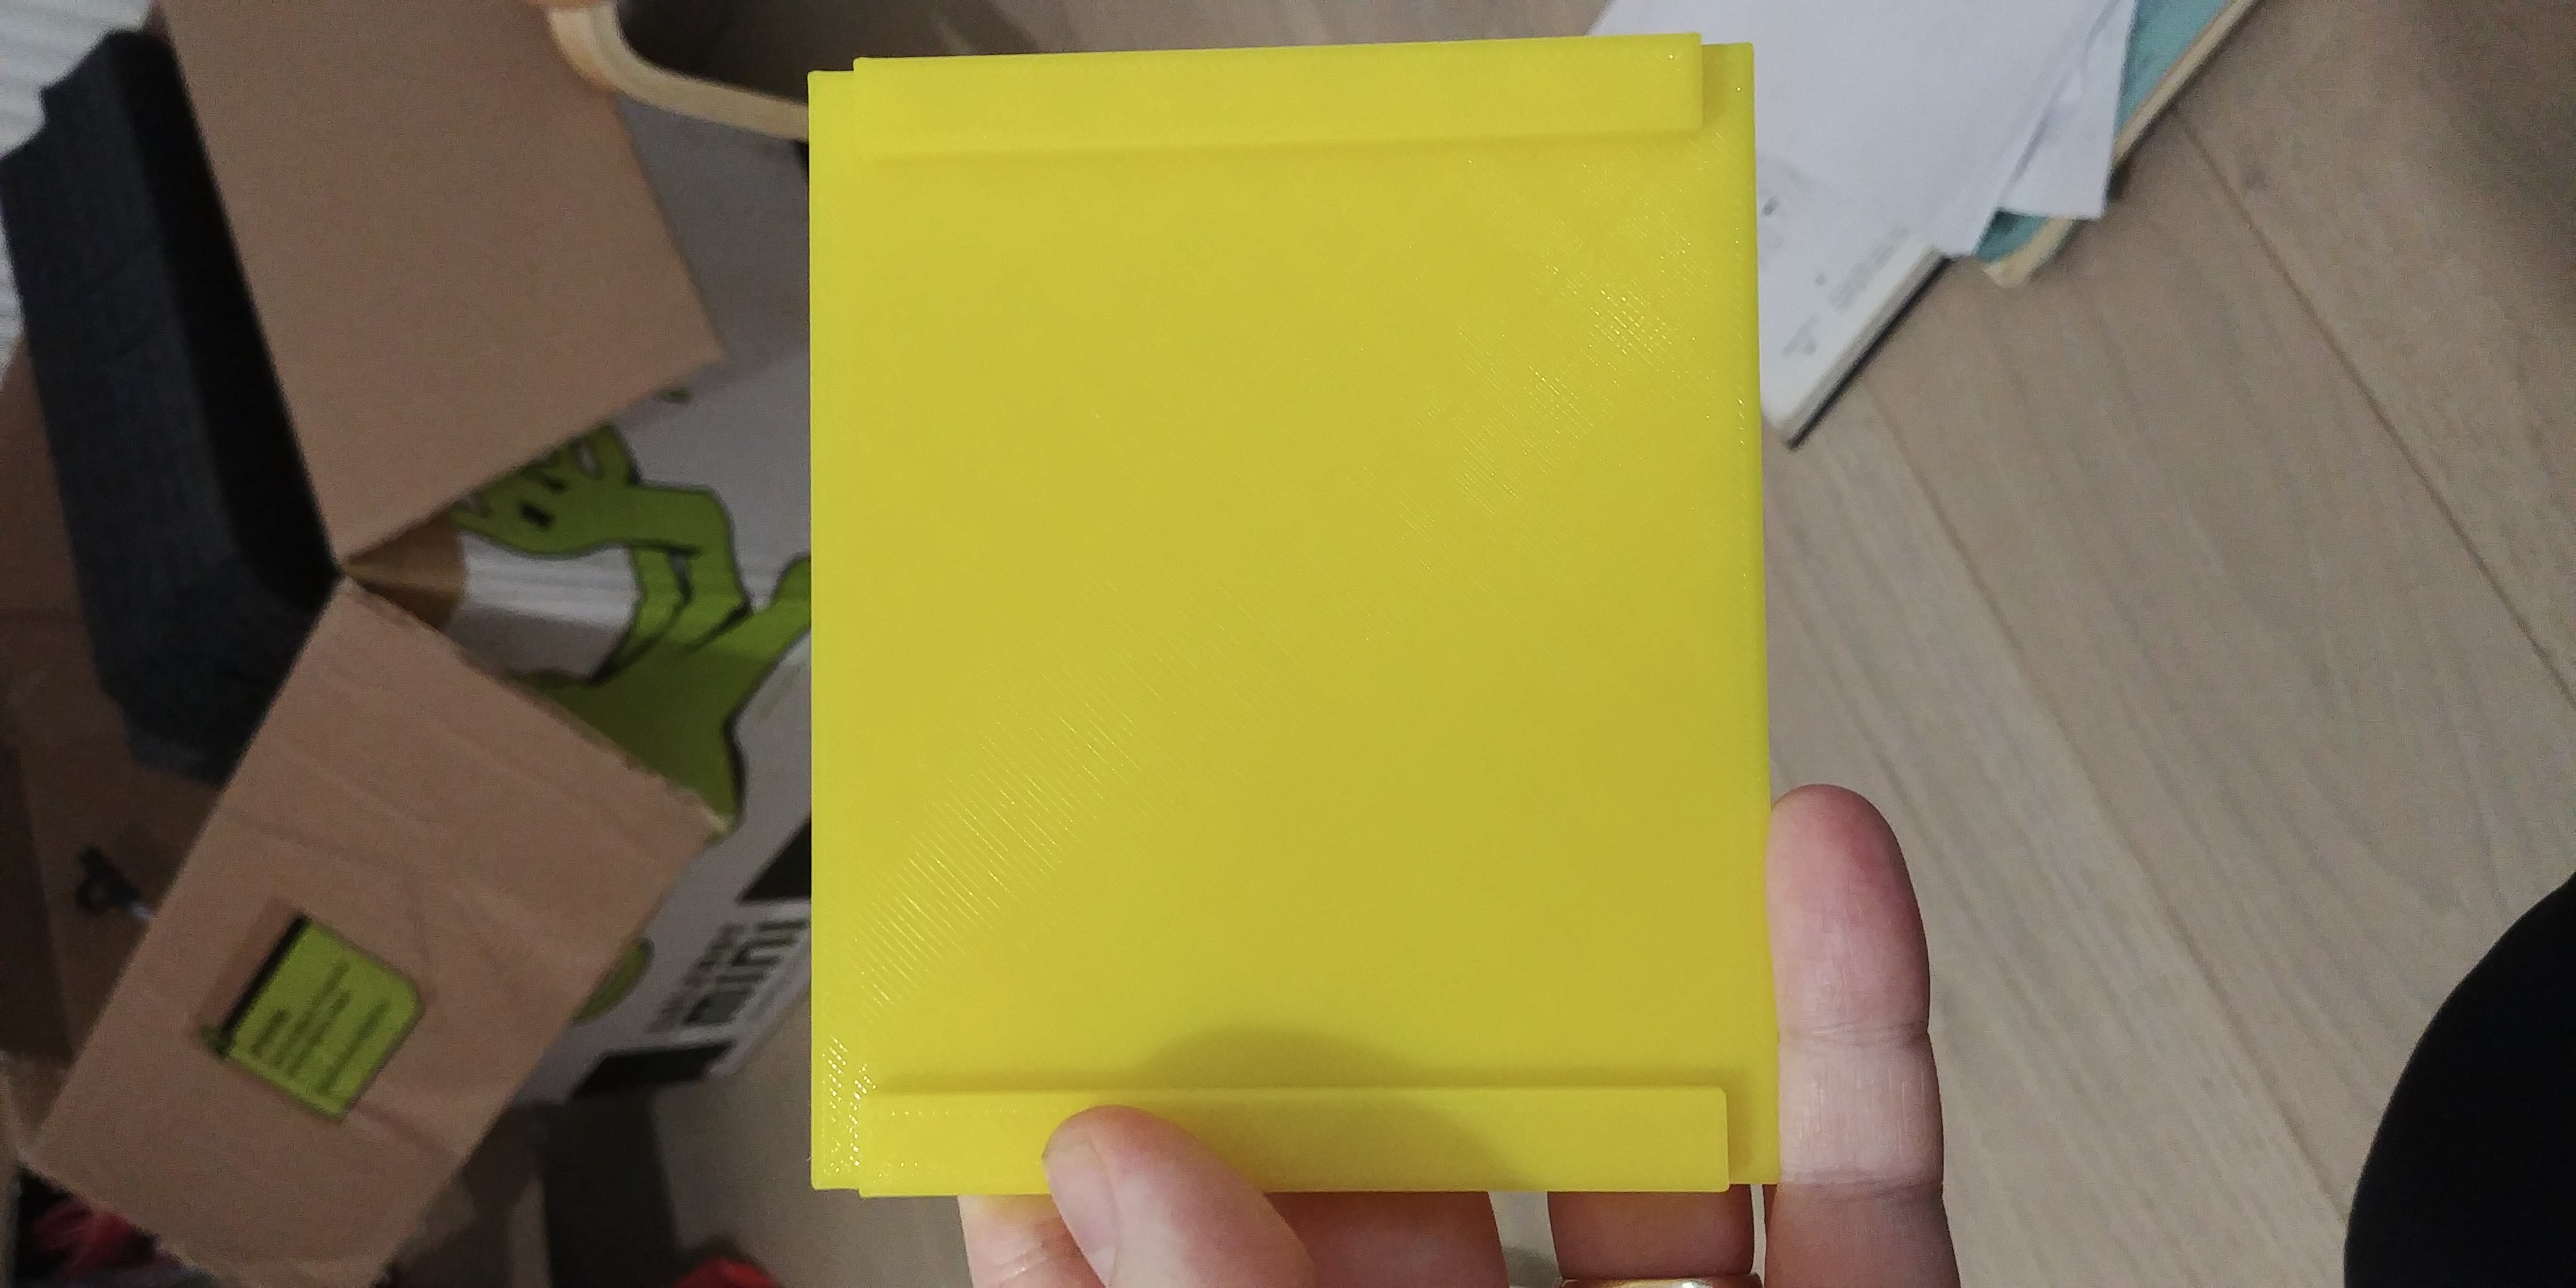
Not only does this waste engineering time designing the stupid 2 halves when I am already learning basic things. It wastes lots of print time and fails to achieve the stated goals.
Learnings
-
The bottom and top bezels need more space. The display resolution on e-paper isn’t incredible, so you really want to maximize your used area and as such need to have enough space to comfortably hold the screen (which is large).
-
Need space for USB connections
-
I do need to test button positions. You can see from the above picture my hand with natural button placements in the middle to top of the side. When tested with people with normal or small hands: this is very uncomfortable for them.
-
No touchscreen means I need more buttons for the menu: So add space along the bottom.
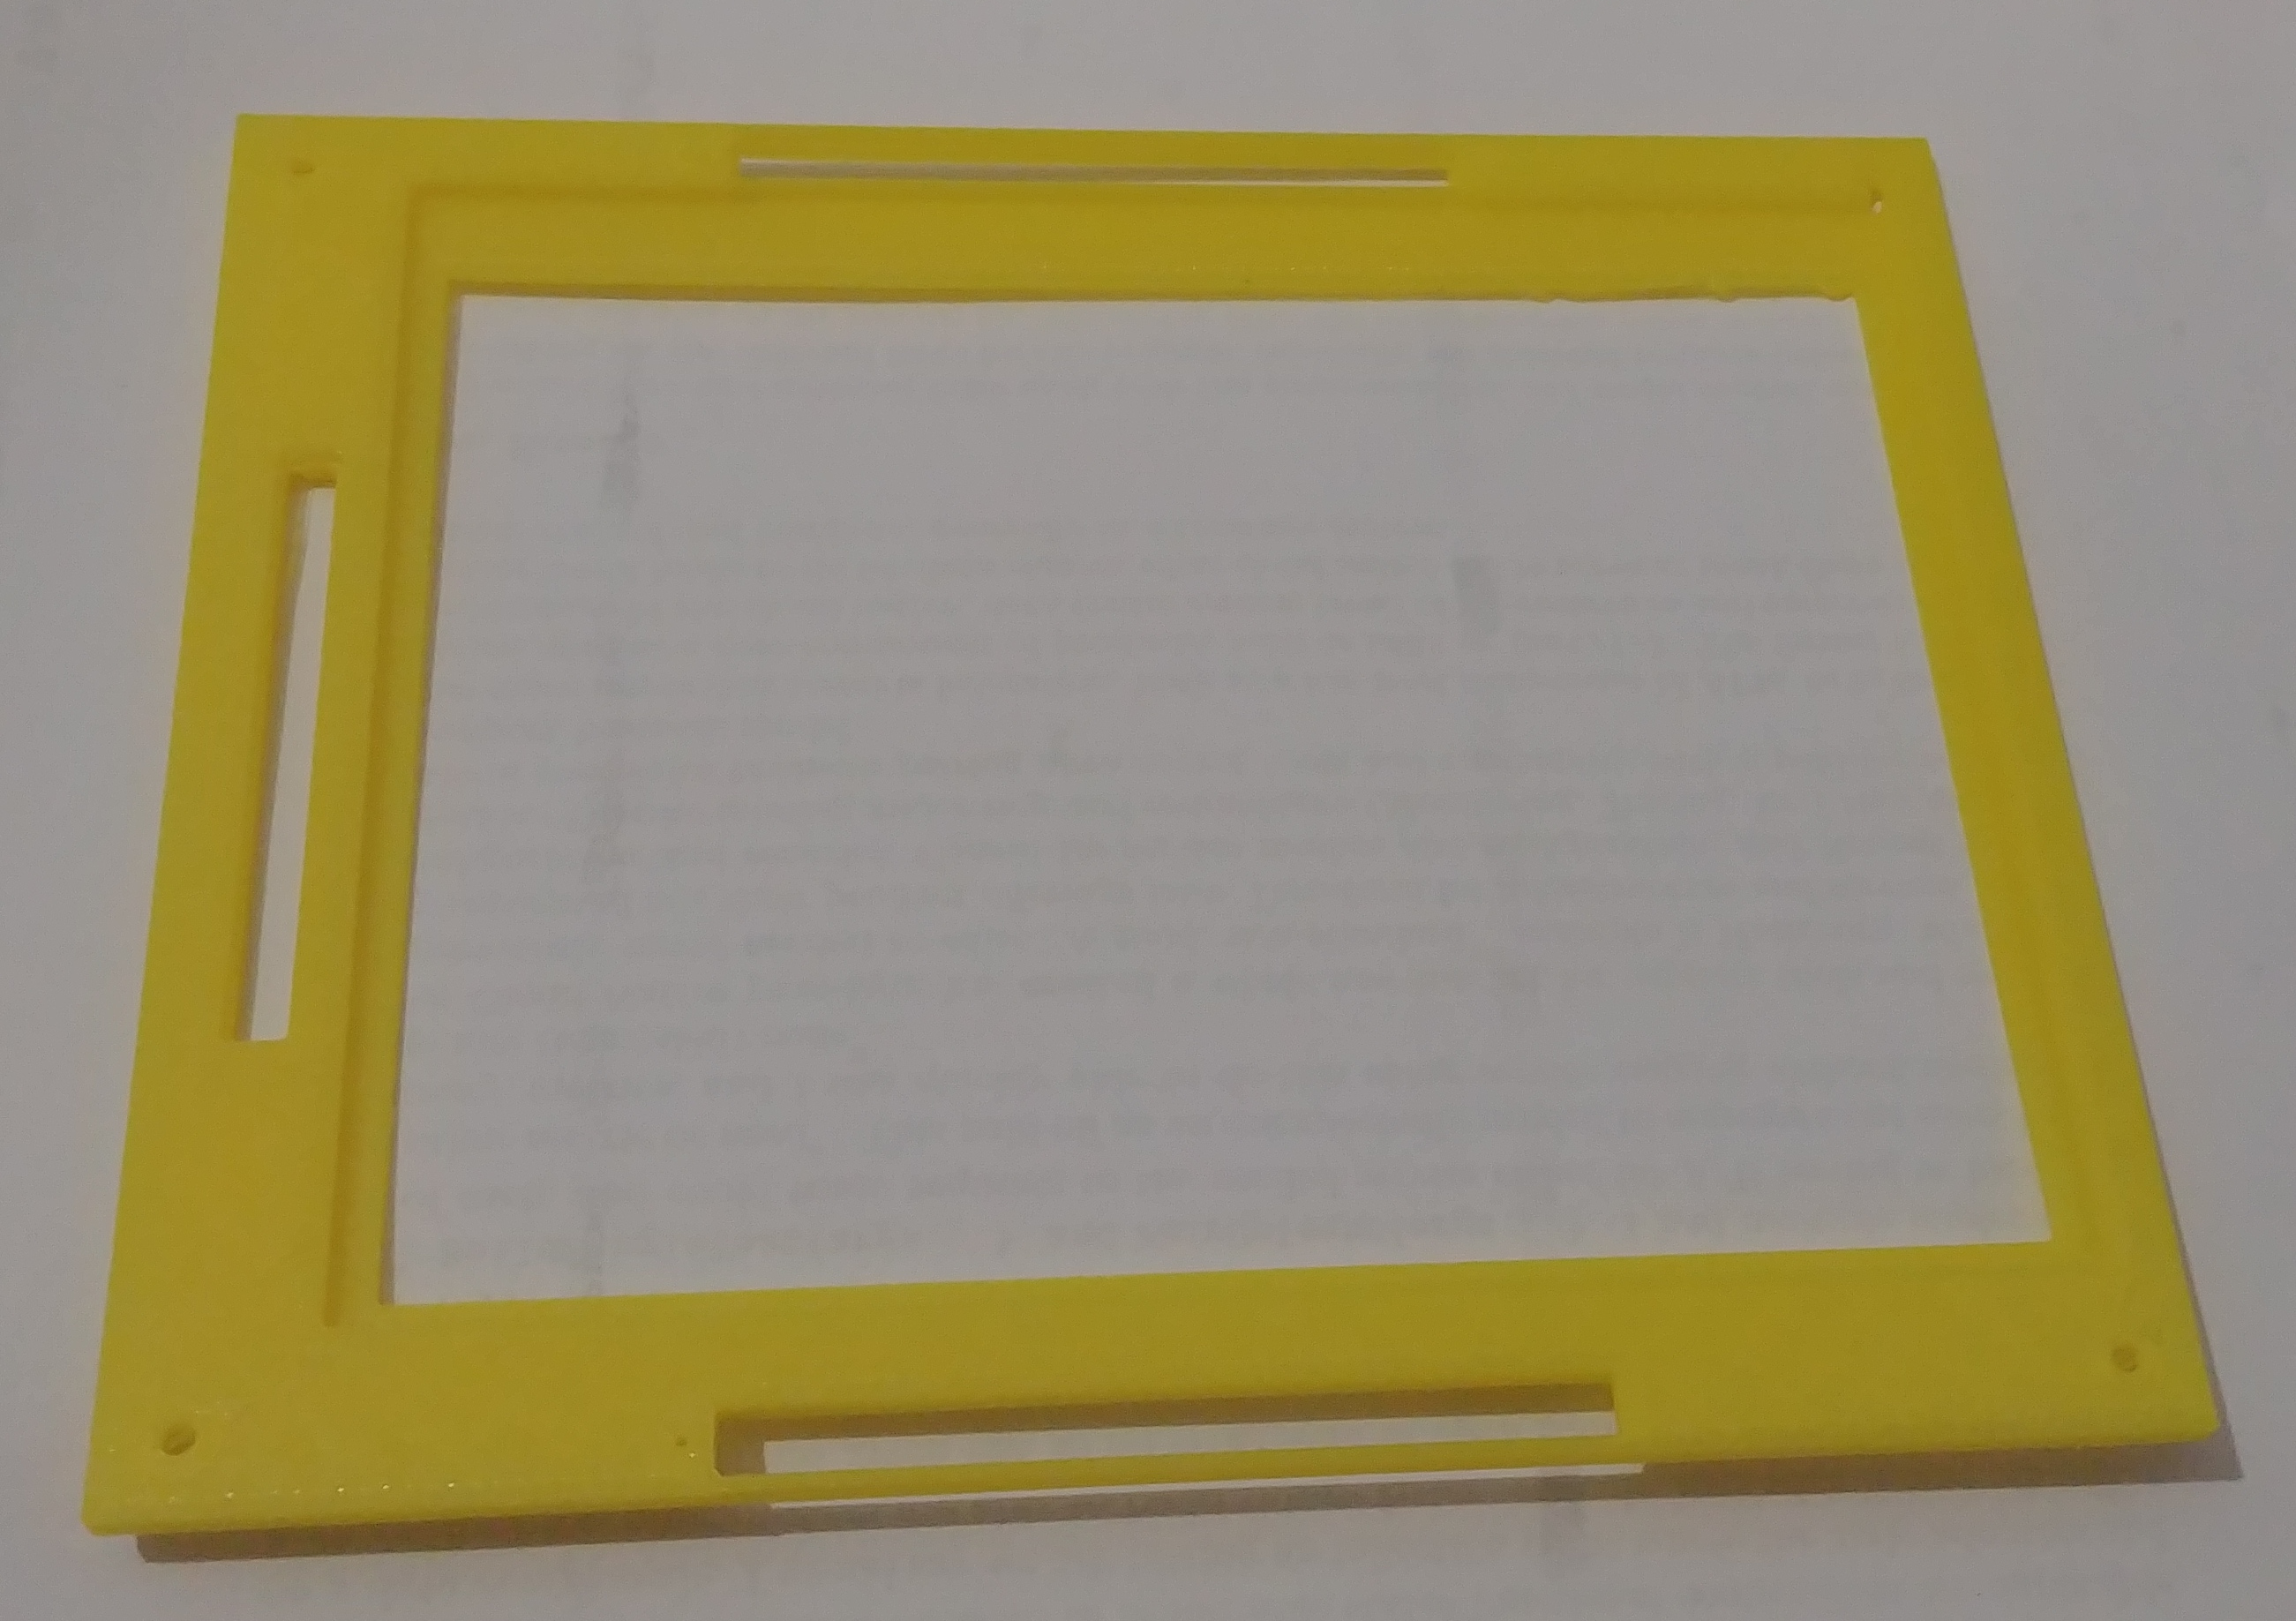
Delivery arrives and v2.1 frame
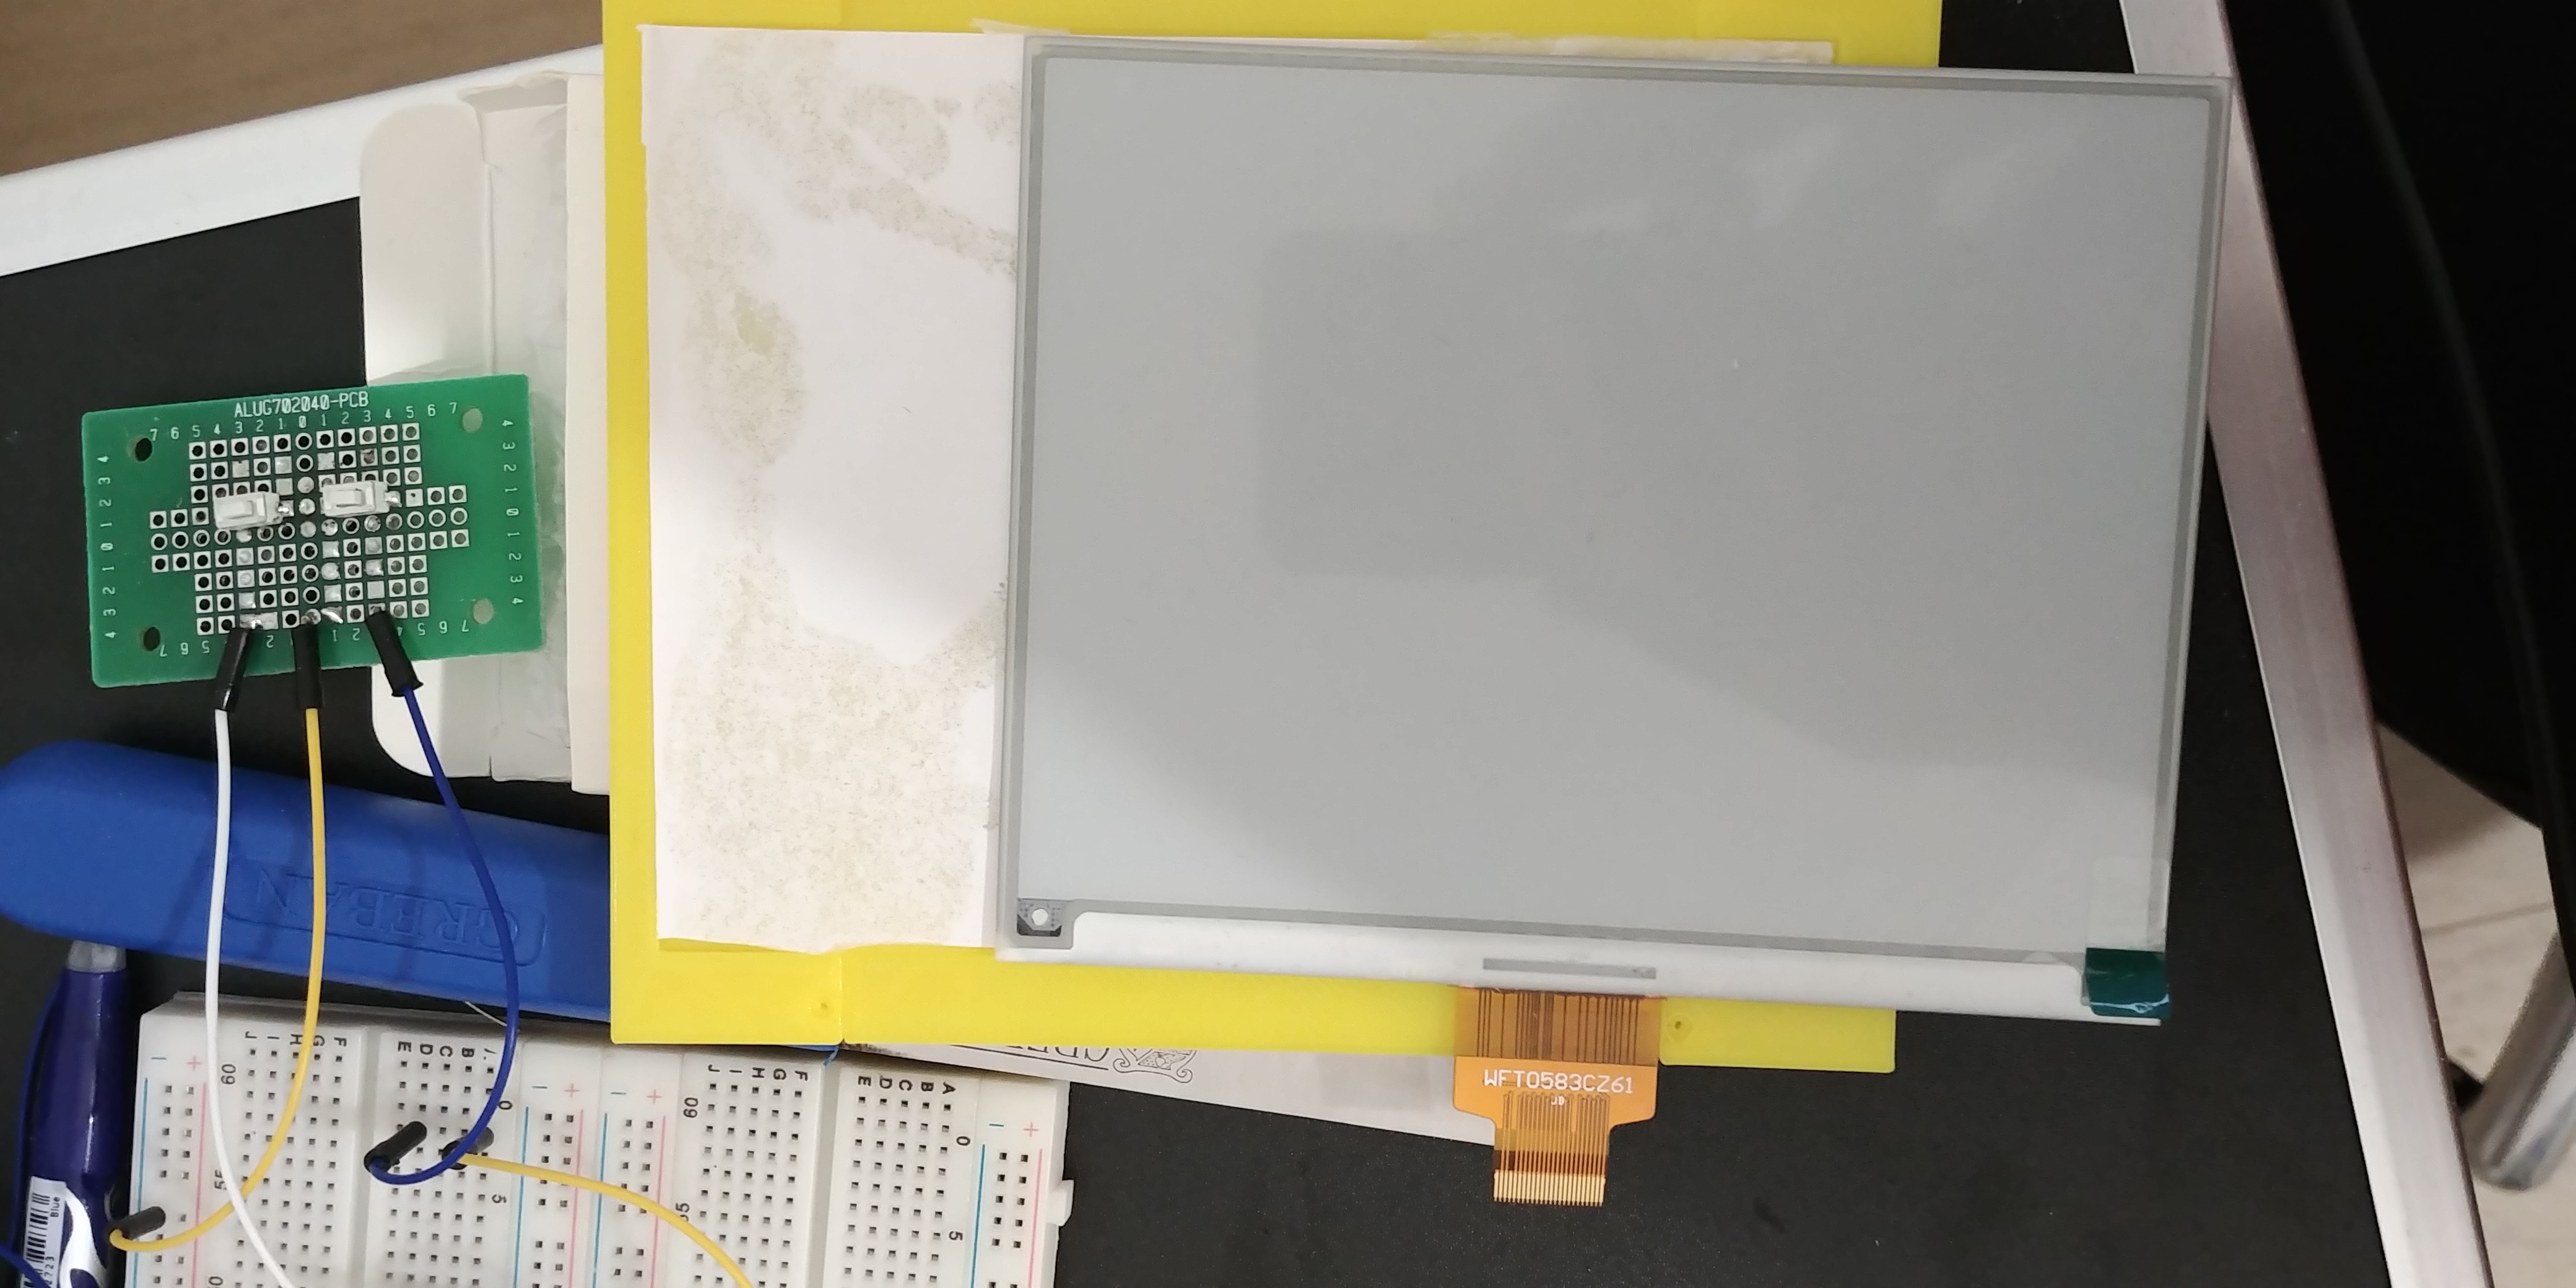
Then the e-paper screens arrived, and I realize that I oversized the paper space. This is good because I also didn’t account for the bending angle of the FPC connector and mounting along the edges. I have gained some bezel width without changing the frame sizes (serendipity because I absolutely didn’t plan for this)!
Designing
Goals for v2.
-
Have it at the size I figured out that would probably work from v1.
-
Learn what button configuration and type works in the form factor
-
Learn about button and USB placements
-
Learn about how much space and how to route wires etc in the confined space. It must be able to test fitting internals in a non-functional way. Eg: 3d print a blank of a PCB and make sure we can squeeze stuff in.
-
Learn about making 2 part frames and how to nicely get them together. The goal of this is super basic: figure out what I don’t know by doing the dumbest thing I can think of: 4 screws in the corners.
-
Learn more FreeCAD.
-
What can my printer handle (LULZBOT mini 2) in terms of negative space features (lips, holes etc).
Bonus round:
If I can do a tape up fit of the e-paper screen and buttons while routing the wires outside I can have a ‘working prototype’. This is not a goal I am spending any effort on.
Modeling
Three attempts later and completely misunderstanding how PartDesign works w.r.t actions on faces (I still am not sure how to remove a feature and then recompute everything afterwards projected on a new feature).
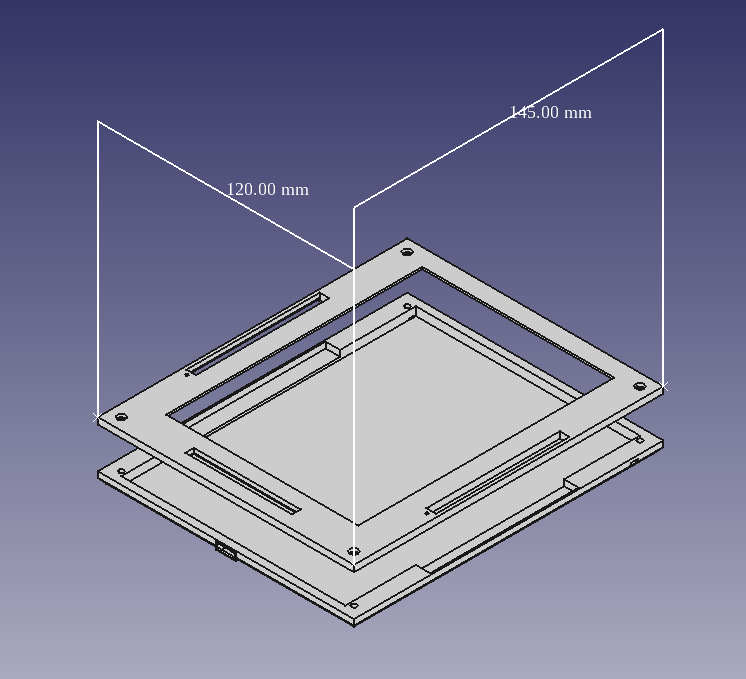
The slots in the top plate are for buttons to be hot glued in place for testing positions and feel. They are sized against the SMA buttons I have on hand. There is supposed to be a retaining lip to hold in 3d printed button covers above them, but they didn’t come out well. I’ve since been gifted a resin printer that can make much smoother parts. When I come to v3 I will print this section with that and glue it in place for testing if needed.
There is a USB ‘port’ in the bottom. This is to test holding it in bed while charging. The hole is exactly the inner dimensions of the female USB-C spec so it cannot hold a real USB port: its just to learn if locating a port there works. I should have put ports in other positions as well (top, right, left) but I didn’t because I’m silly.
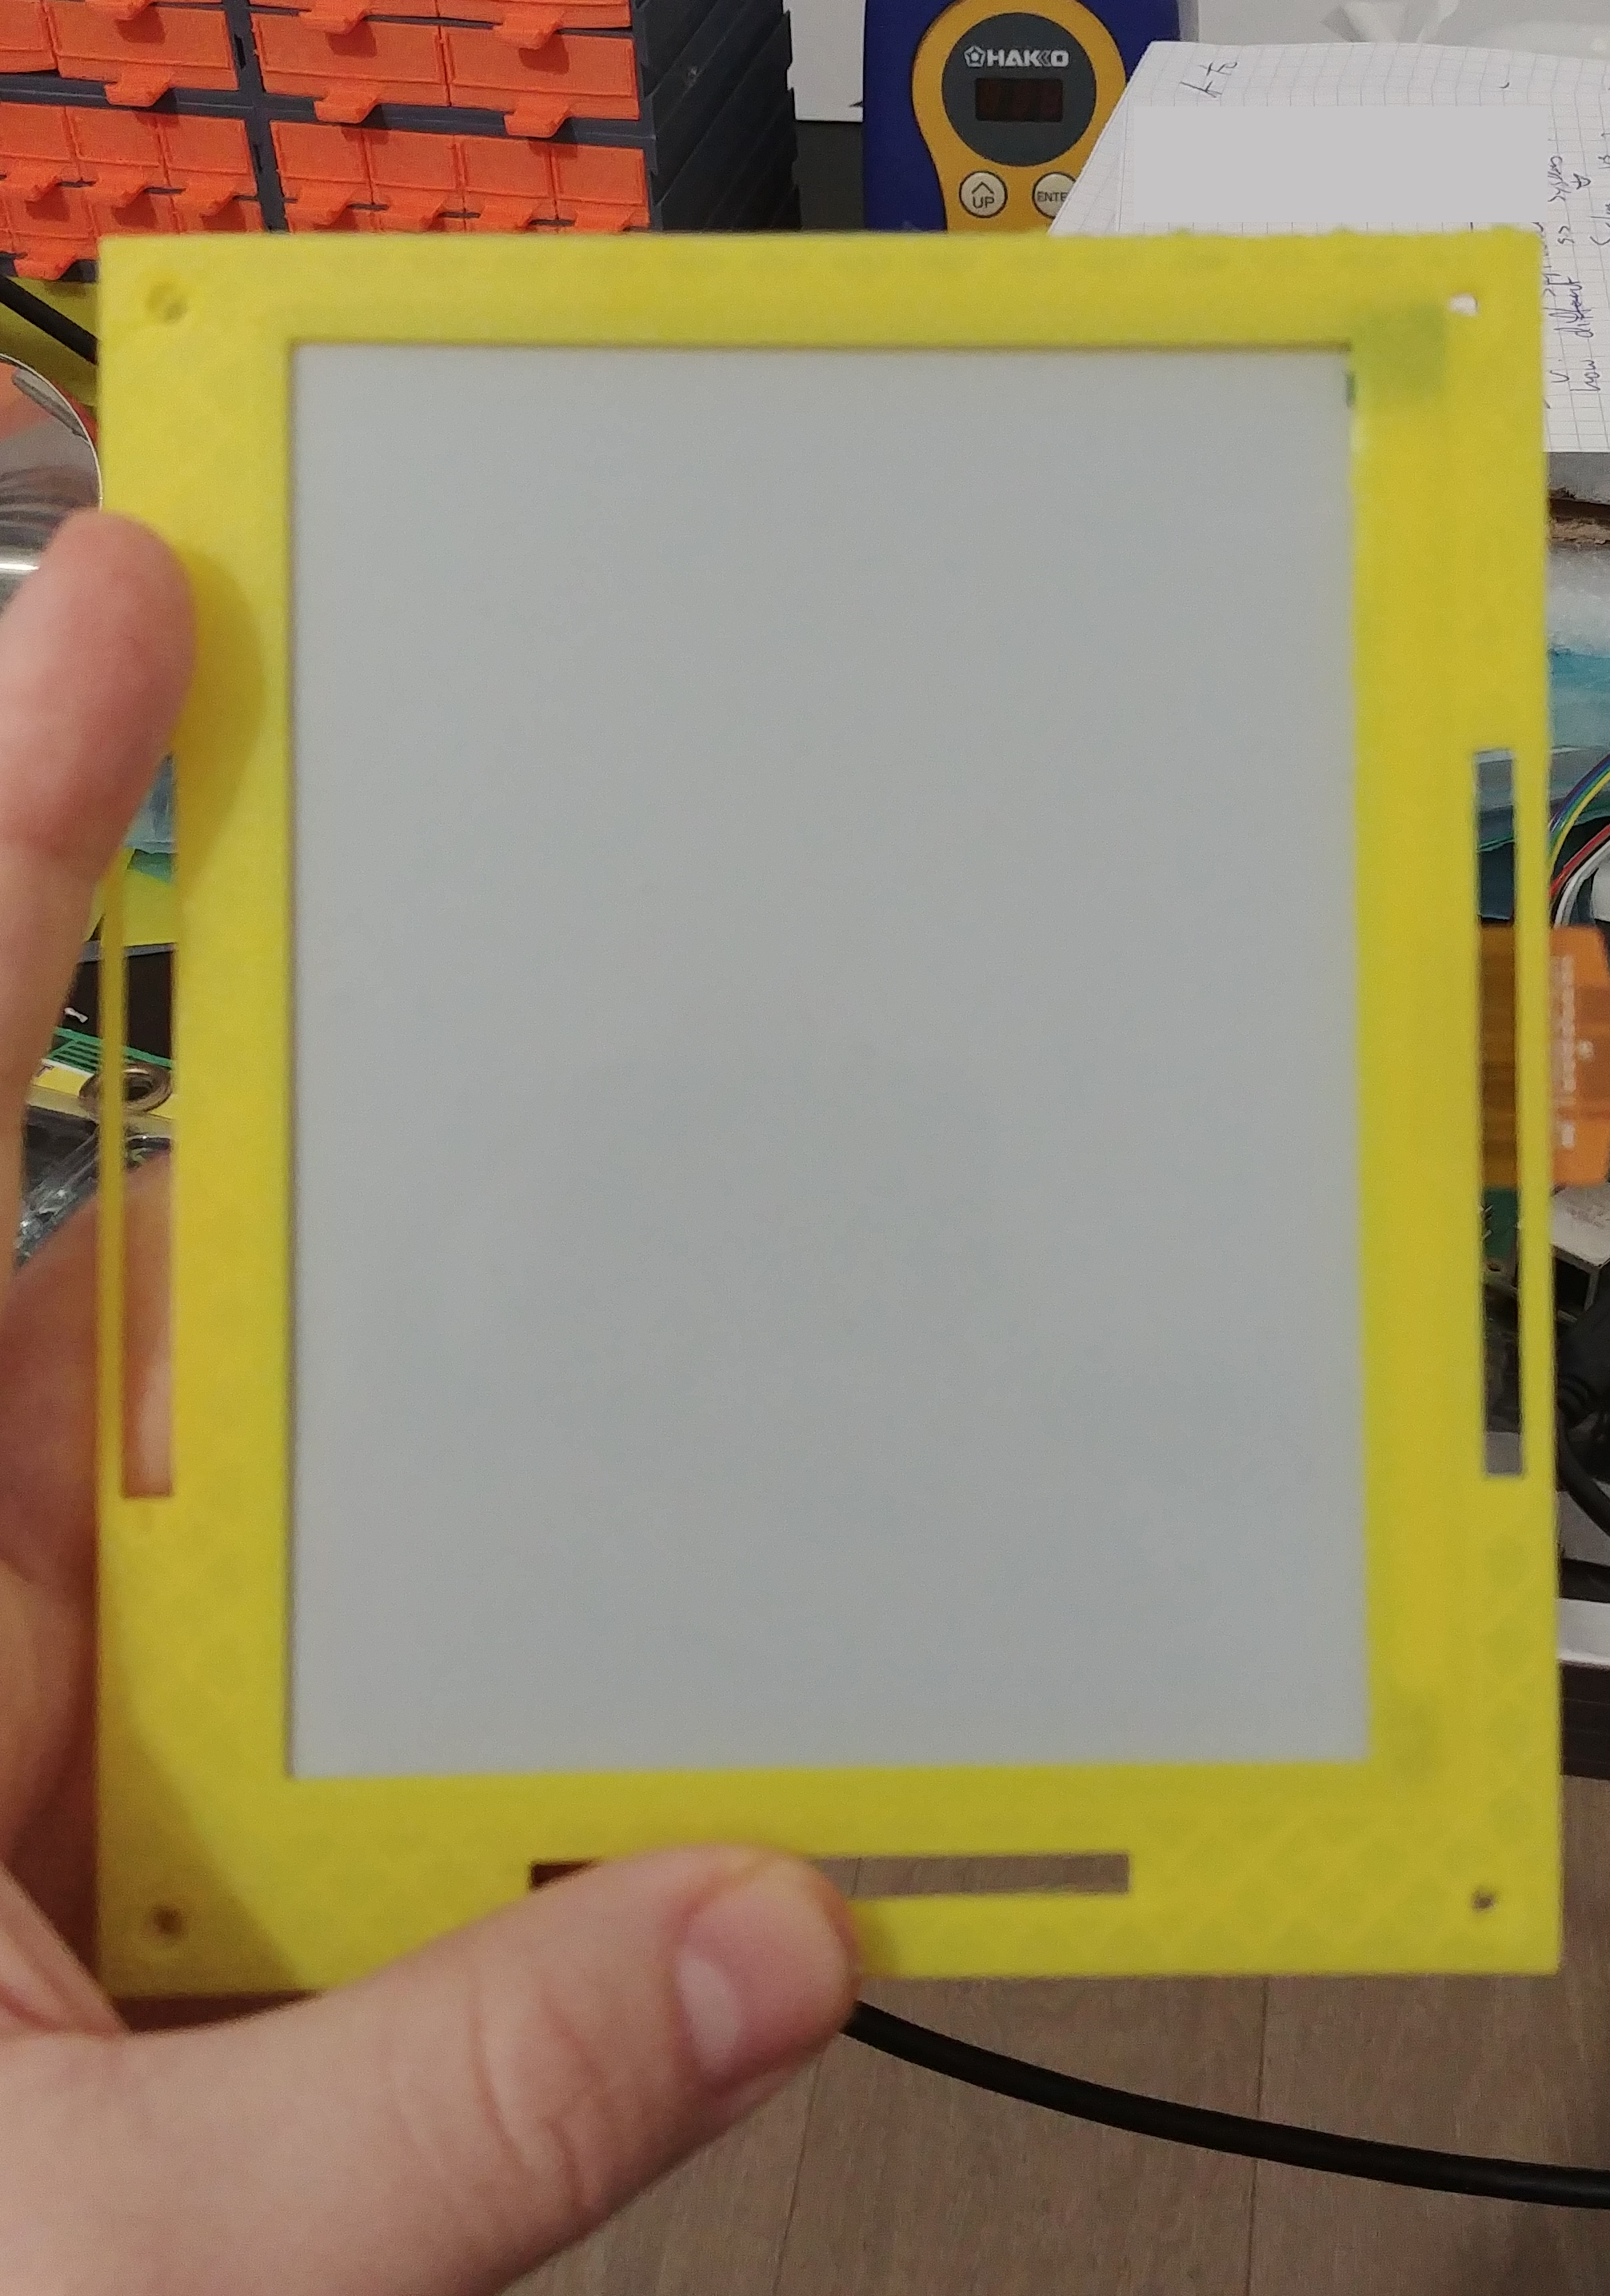
v2 print
The print came out quite well. Here is v2.1, with USB plugged into the blank hole in the bottom.
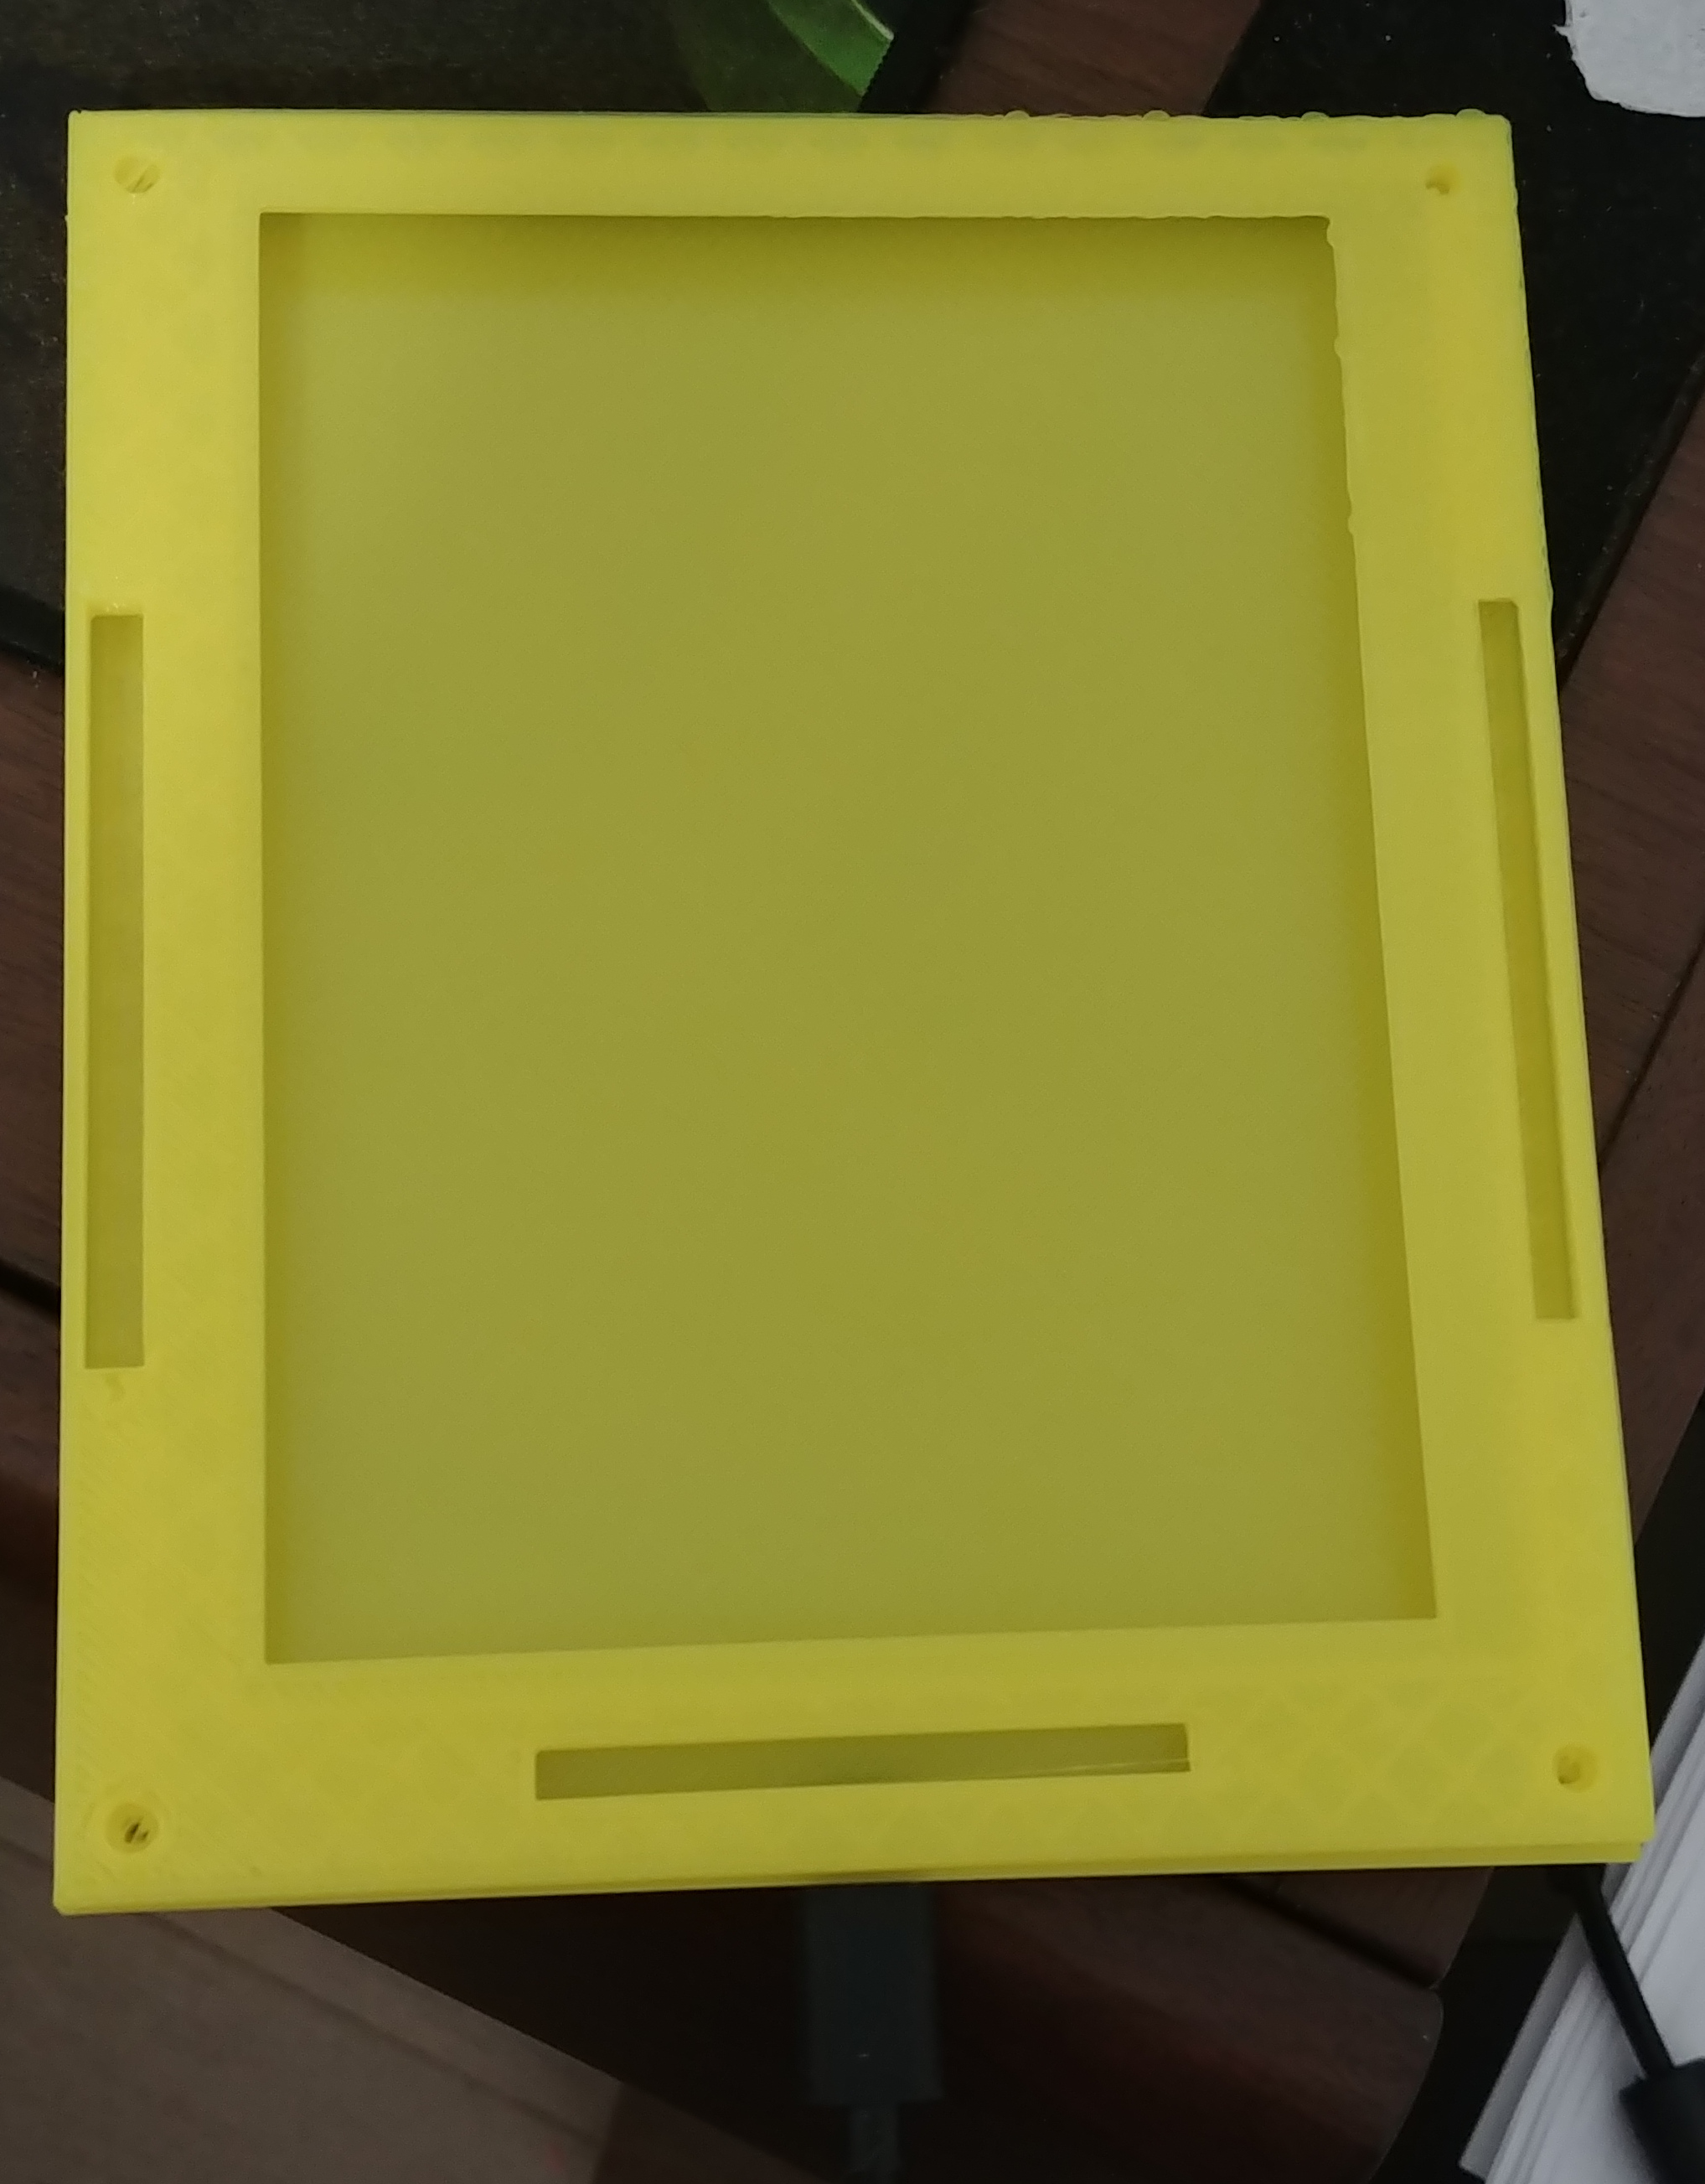
Pictured is the difference between v2 and v2.1: I didn’t give enough space in the screen recess in v2 by about 1 mm. While that is fixed here: there still isn’t really enough space for the FPC to be folded; and that will need to be addressed.
Learnings:
Dumb approach to making 2-part frame
-
Keep doing this fast dumb approach
-
Make sure you have the screws for the screw holes you design.
-
Figure out clips or locating pins or other dry-fitting retention mechanisms. This does not include glue. This may include magnets (like the wonderful framework laptop
-
I have more space I can recover from the thickness.
-
Probably want 2-3 buttons along the bottom. This will allow landscape and easier menu traversal.
-
Some features are too small for my printer; like the locating pinhole at the side buttons; or the edge power switch. The first is just too small, the second shrunk more than expected and is unusable. This is a good learning.
-
I’m liking the idea of button caddies that you can place where it fits your hand best.
Overall
I’ve learned what I need to right now as far as this prototype goes. I need to make progress with the software now (layout engine, text rendering, SPI epaper output, epub and book mechanics).
There should be 2 more posts soon on the electronics and the software.